Nepal was always on my wish list for this trip and trekking to Mount Everest Base Camp (EBC) had been a bucket list item of mine for quite a while. I had originally thought I was going to arrive in Nepal a few months earlier, nearing the end of high season. I ended up having too much fun in SE Asia which kept me longer than I had planned, but I decided to still make my way to Nepal and see what kind of trouble I could find.
Pre-trip
Upon arriving in Kathmandu, I had already convinced myself that trekking to Everest Base Camp (EBC) was not possible because it was still monsoon season (June – August). I was quite bummed about this, but figured I would at least be able to scout things out and get an idea of what would be required for a return trip to tackle EBC.
As I wandered around the chaotic streets of Kathmandu exploring my new destination, I dropped into chat with a trekking company. They confirmed my thoughts….it was not a good time for EBC, but that the Annapurna mountain range would be possible. I was familiar with this range because I had heard of others who had done the Annapurna Circuit. This range was in the northwestern part of the country and I was told that it was more protected from the seasonal rains. I left thinking that I could do Annapurna Base Camp and have a pretty amazing trek, but somehow I wasn’t it excited about it. Frankly….it wasn’t Everest Base Camp.
I decided to visit another tour company I heard good things about to see what they could offer as options. From the minute I entered the Himalayan Encounters office, I knew I had stumbled onto a solid company. Quickly into discussing options, EBC came up. I was so surprised when they told me that it was not only possible, but a great time to go! After discussing all the pertinent details…I was signed up to trek to EBC!!
I went with one of the trekking guides to a small shop to purchase what I would need for the trek that I did not have with me. The pack I travel with is quite small at 46 liters and there was definitely no room for serious trekking gear. I did need to buy quite a few things, but found it to be quite easy since I was with a Nepali that helped me in the negotiating process. You can see everything I purchased and packed on my post about my Everest packing list.
Day 1: Kathmandu – Lukla – Phadking
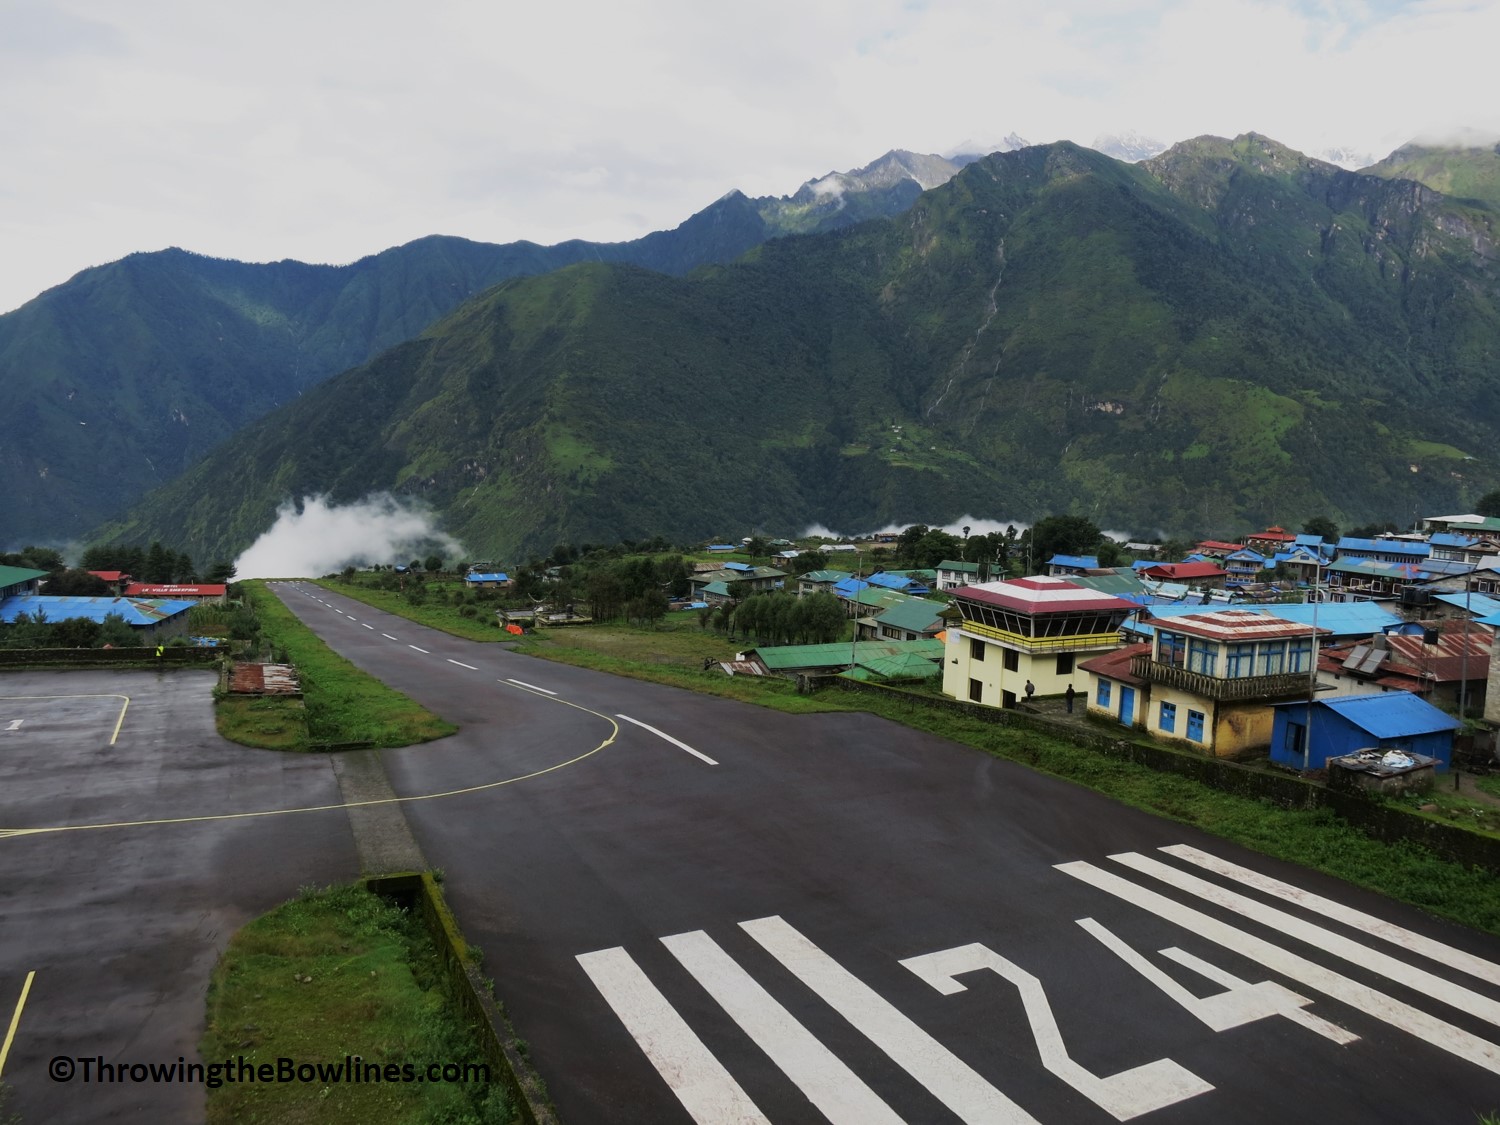
In order to begin the trek to EBC, you must take a brief 40 minute flight from Kathmandu to Lukla. Easy, right? Well, Lukla airport has been called the most dangerous in the world, so not exactly easy, per say. In order to be able to fly, the weather has to be near perfect between Kathmandu and Lukla. Any sight of clouds, especially in Lukla, there is no flying. The runway is just 1,509 feet (460m) long (a tenth of the size of a standard runway), is sloped, and is built 9,200 feet (2,800m) above the ground in the side of the mountain – Believe me, you are willing to wait for perfect weather!
The morning of my planned departure, I woke to rain…lots of rain. I was being picked up by my guide, Jangbu, at 0445 so that we could be at the airport for our planned 0615 departure. We arrived, got all checked in, got some coffee, and crossed my fingers that we would fly! We all got shuttled out to the small (20 pax) plane and strapped in. The pilots revved up the propellers and we started to make our way to the runway! Only to make a small circle and park where we began. The flight attendant walked up to the front and informed us that the Lukla airport just closed because of weather. Bummer.
I had known that they were unable to fly to Lukla for the last 5 days due to weather and it seemed that it was possible to make it 6. We all disembarked and went back onto the shuttle bus, but waited there. Within 15 minutes, they told us that they were back open and we were going to try again. Attempt number two was successful and we were off on our way to Lukla! The flight was absolutely beautiful as we flew so close to the gorgeous Himalayan mountain range and over “hills”, which would normally qualify as mountains in most U.S. states.

As the landing approached, I watched the same view as the pilots and spotted the small runway. It looked all clear and the landing was surprisingly smooth and easy! We walked to the ‘airport’, collected our bags and made our way over to the main town and had some breakfast before we embarked on our first hike of our 12 day journey 🙂


We town of Lukla is very cute and quite built up to handle to volume of tourists that come through en route to Everest each year. There are several shops selling trekking gear, toiletries, and snacks. There are even restaurants to include Everest Burger, Everest Coffee, and a Starbucks (haha, not ‘real’, of course)!

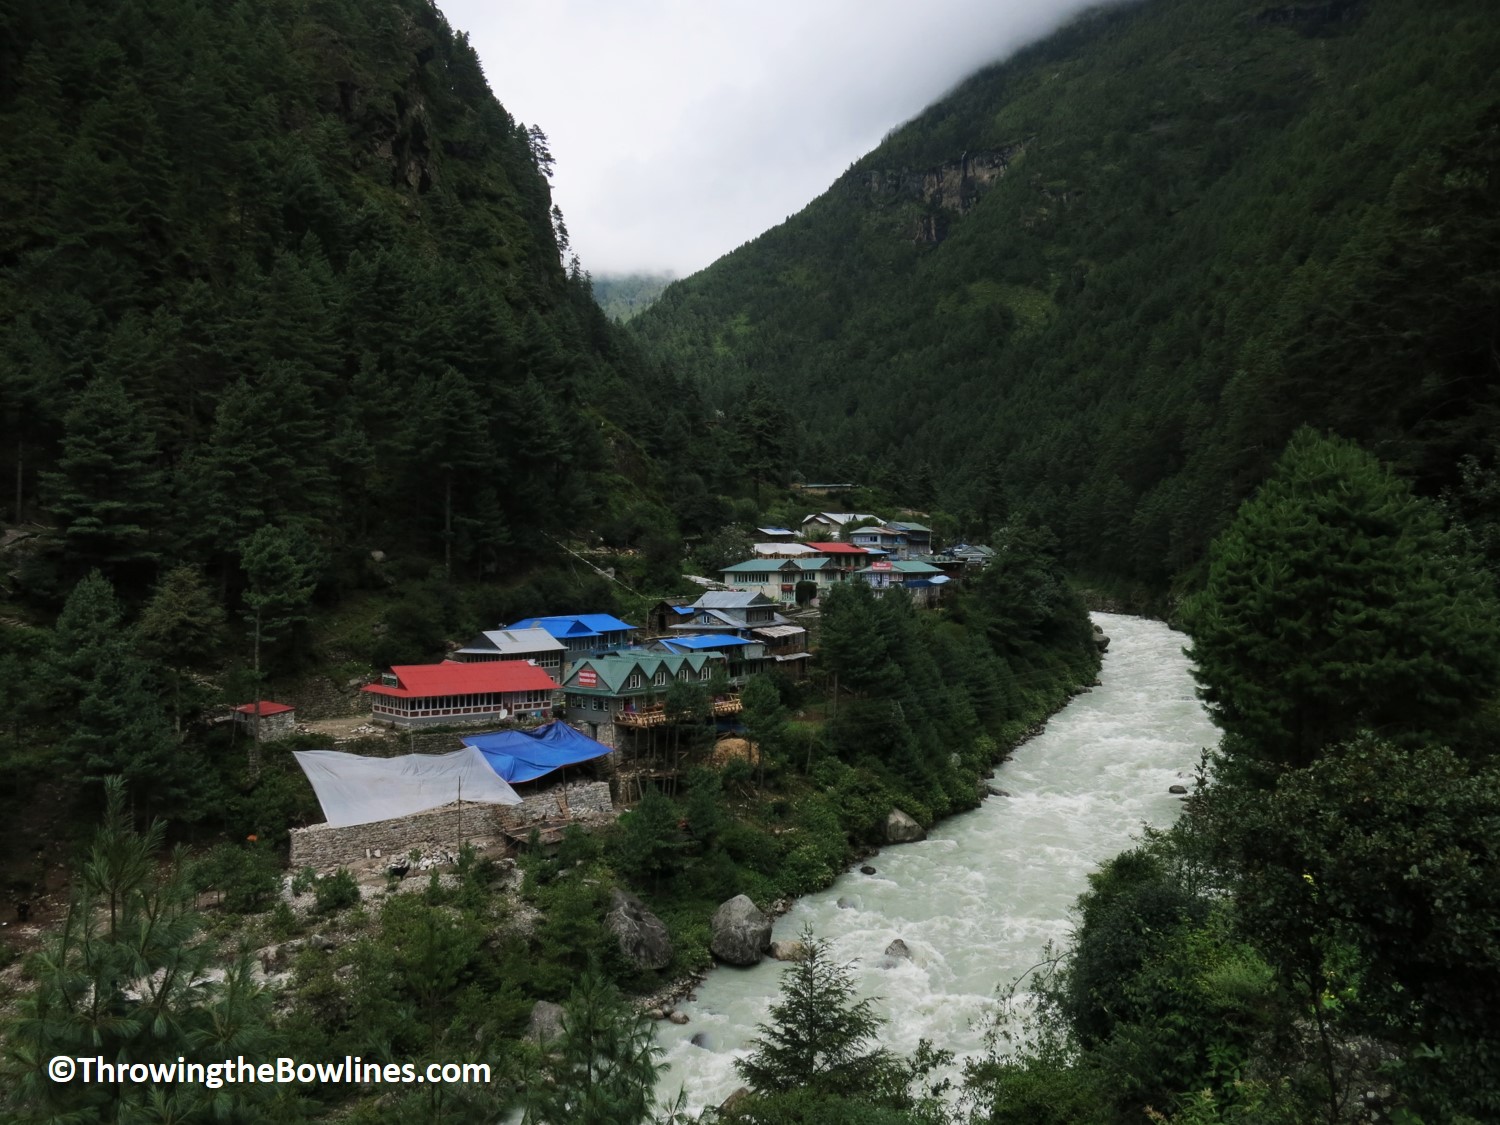
We left Lukla bound for Phakding on essentially a ‘warm up’ hike. I had known that instead of actually gaining elevation on this leg, our final destination of Phakding actually stood 920 feet (280m) lower than Lukla. It was a beautiful day and we took our time soaking up the clean mountain air and taking the first of many photos. We met some other solo trekkers (with guides) that would end up becoming our travel companions along the trek, which was wonderful company. We passed so many beautiful prayer wheels, massive stones with carved Tibetan prayers, and bridges with water rushing below. One of the advantages to trekking during the monsoon season is that everything is very lush and green! Beautiful flowers welcomed us around every corner. This short trek is a perfect way to ease into the more difficult days to come.


We arrived in Phakding by early afternoon, just before the rains began. I had a lazy afternoon complete with a nap and reading before dinner and an early bedtime. I knew day 2 would be one of the more, if not most, difficult days of the trek ahead.
Trekking Stats
Distance: 4.5 miles (7.2km)
Time*: 3 hours
Elevation: -755 feet (230m) overall
Day 2: Phadking – Namche Bazaar
We woke early for breakfast at 0630 and were out the door by 0715 to begin our longest trek of the entire journey. Jangbu warned me that today’s hike would likely be the most strenuous and difficult of them all due to the amount of elevation we were set to gain. I was ready for a good challenge and so we began our journey with a thick layer of clouds keeping us cool.
Within the first 30 minutes, I saw a beautiful mountain and I asked Jangbu which one it was. He laughed and said, “That isn’t a mountain, just a hill. It has no name!” Hahaha…I would soon learn why. The first three hours were pretty easy – ups and downs – but nothing overly strenuous. The clouds began to break up and I got my first views of REAL mountains. We spotted the beautiful snowcapped peak of Mt. Thamserku at 21,680 feet (6,608m). Now that took my breath away!


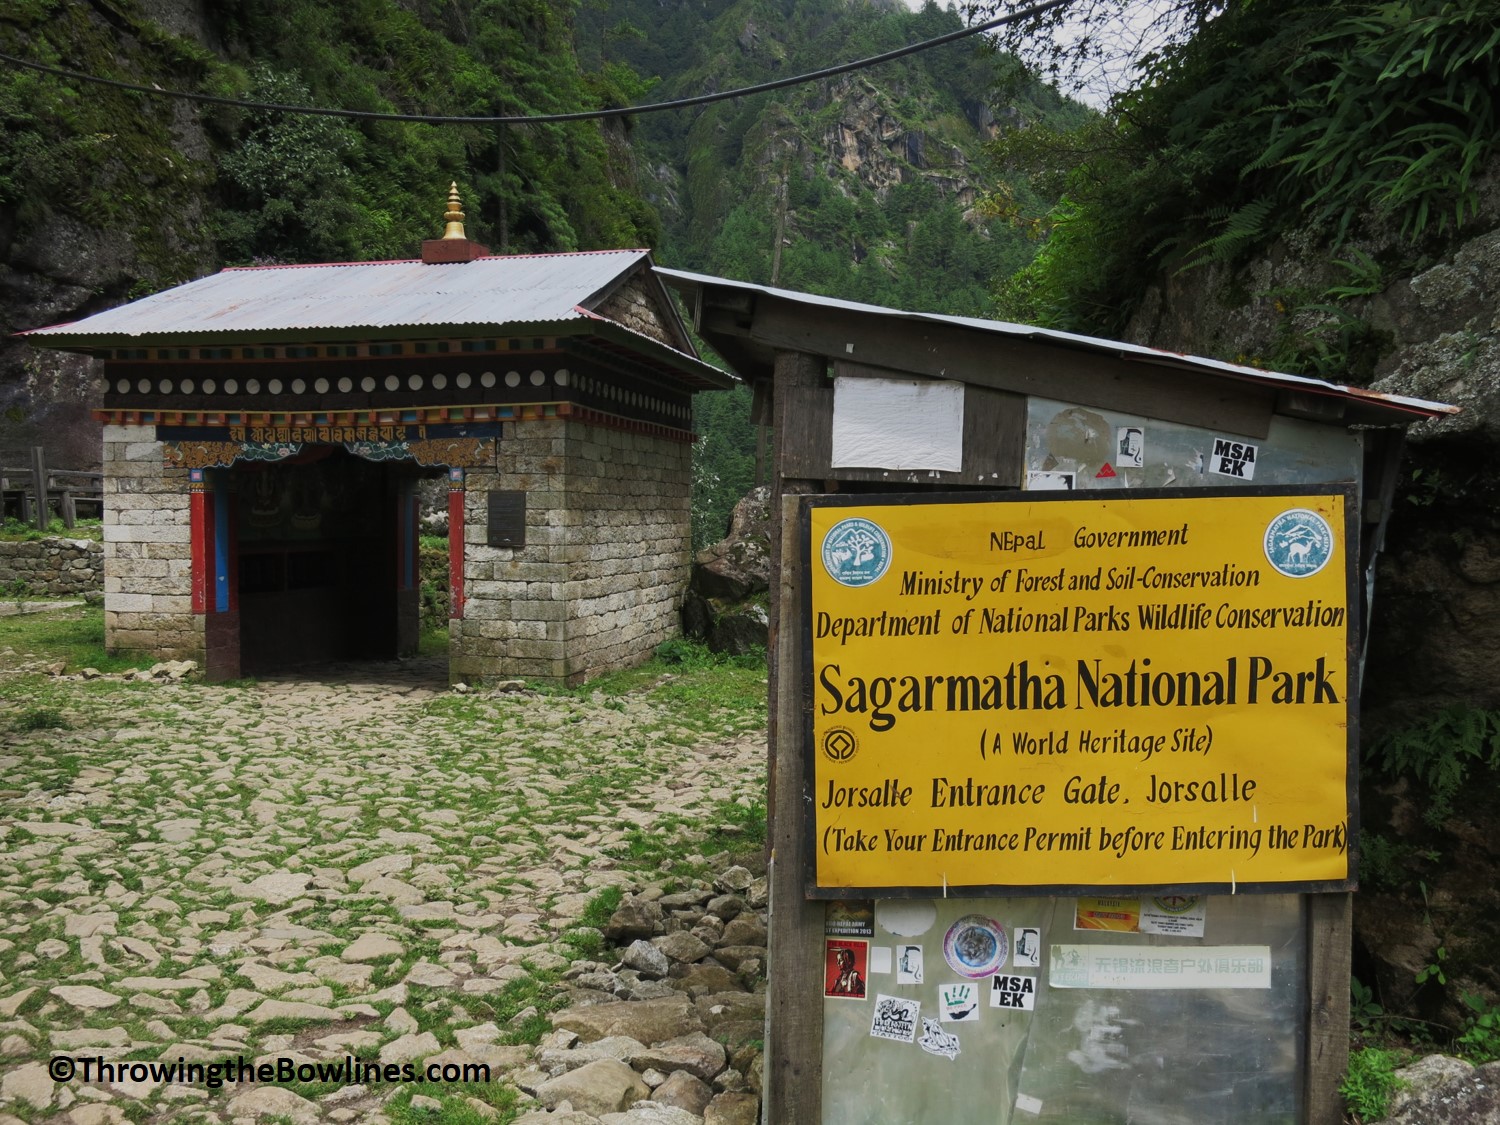
We continued on, steadily gaining elevation, and passed over 2 suspension bridges before we officially entered Sagarmatha National Park. Sagarmatha is the Nepalese name for Mount Everest and the National Park is a UNESCO World Heritage Site. All visitors to must stop and pay for the national park fee (Rs 1000 for foreigners). They have a small museum that is worth checking out here too with good information on the area, the people, and culture.

We passed over one more suspension bridge before stopping for lunch in Jorsalle. This is the last town before Namche Bazaar, which is 3-4 hour trek from here. Best to fill up here as the trek intensifies very quickly after leaving!

After a delicious lunch, we set off on our way. We crossed our 4th suspension bridge and descended to the river. We crossed our final suspension bridge as we began our uphill climb to Namche. We would be gaining over 2,000 feet (610m) on the final push. I was very thankful to have Jangbu to set the pace for me. One thing that is critically important is to go slowly. With it being just day 2, I found that I still had quite a bit of energy and wanted to climb more quickly. But, Jangbu kept telling me to go slowly and he set the pace ahead of me which I found to be snail-like at times, but what was necessary. Jangbu told me that it was not good to have your heartbeat faster than a normal resting pace (or close to it). This is critical in helping to avoid altitude sickness.


We arrived in Namche and I felt surprisingly good considering that this section was the most difficult. It definitely gave me some confidence for the days to come!
Trekking Stats
Distance: ~5.6 miles (9km)
Time*: 7 hours
Elevation: 2,723 feet (830m) overall
Day 3: Namche Bazaar
Our third day on the trek was spent as an acclimatization day in Namche. Since we gained such a significant amount of elevation the day before, it is critically important to allow our bodies to acclimatize to the higher altitude, to avoid getting altitude sickness. An acclimatization day isn’t just a day of relaxation….you actually have to gain more elevation and then come back to your original altitude.
We woke to rather poor conditions, rain and heavy fog. Our planned trek for the day was up to a viewpoint where we would get our first real glimpse of Mt. Everest. We delayed our start time from 0700 to closer to 0900 to try and allow the weather to clear. Eventually the rain did stop, but the clouds were not very kind to us! We trekked up to the viewpoint only to be greeted by a thick wall of fog. Oh well…one of the things you have to expect when trekking while it is still monsoon season! We were able to visit the free museum that told the history of the area, mountains, people (Sherpa), and the land. It was a great museum and worth checking out.

Jangbu and I continued our acclimatization hike up to a high point overlooking Namche. The Everest Mountain View Lodge is a super fancy hotel that sits at 11,286 feet (3,440m). There is a helipad at the top as well. This hotel is popular amongst Japanese tourists as it was built and owned by Japanese that promote it in Japan. It is very common that people take day trips from Kathmandu to here, via helicopter, have lunch and go back. Pricey excursion!
We trekked back down and visited Syangboche airport, which is essentially an airstrip, which sits atop the same mountain on the way back down. Small planes can land here, typically with supplies, but can also bring people and make rescue trips, as well.
We made it back to our tea house by mid afternoon and had a relaxing afternoon. I went out and explored Namche with my other trekking friends and we all stocked up on some essentials…candy bars, granola, and toilet paper for me!

Note: Namche is that last real town where you can stock up on any necessities. There are several shops that sell trekking gear and food. You can also find internet cafes, souvenir shops, and a pharmacy.
Trekking Stats
Distance: 2.5 miles (4km)
Time*: 5 hours
Elevation: 0 overall (+1,443 feet (440m) up and down)
Day 4: Namche Bazaar – Tengboche
This morning we were greeted yet again with rain and clouds, boooo. One of the nice things about trekking with just myself and a guide was flexibility. We decided to start later and allow the weather to pass. With a large group, these types of options typically aren’t available and you usually adhere to a pretty firm schedule.
We set off at 0815 with just clouds and drizzle. The first bit of the trek was an uphill climb, but then leveled out quite nicely. We passed several stupas along the way and Jangbu would explain to me the significance of each. After two hours, we stopped for a tea break at a small shop in Kyangjuma (Kenjoma) which sits at 11,647 feet (3,550m). We continued on to our lunch stop in Phunki Tenga which was just a short 45 minutes away, but those 45 minutes were all downhill! We would be losing nearly 1,000 feet (300m) of elevation in this short amount of time. I knew we would be gaining elevation overall for the day which meant only one thing…we would be climbing A LOT after lunch!

We fueled up and head onward toward Tengboche. We crossed a rather impressive suspension bridge and began the steep climb up. It was actually not too bad though because Jangbu and I had our pace down well at this point. We climbed slowly and steadily with just a few short breaks. There was one group of 15 people that we would run into on a daily basis. Their tactic was completely the opposite…fast (to the point people constantly fell behind) with long breaks. Not the best way, in my opinion.
We gained nearly 2,000 feet (600m) of elevation in this small section from Phunki Tenga up to Tengboche, but we made it in one piece. There is a beautiful monastery that resides in Tengboche and Jangbu and I arrived just on time for the afternoon prayers. We were able to go into the monastery and observe their rituals and prayers. Before we left, I asked Jangbu about lighting butter lamps for good luck. We each purchased one (Rs 100 each) and walked to the large Buddha to light them and then bless them with water. I hoped that this would provide us with a safe journey, good weather, and beautiful views! 🙂


The rest of the evening was spent hanging out with friends and relaxing. I still felt quite good considering we were gaining a fair amount of elevation each day. I hoped that it would continue for the remainder of the journey to EBC!
Trekking Stats
Distance: 6 miles (10km)
Time*: 7 hours
Elevation: +1,378 feet (420m) overall
In Part 2 of my Everest series, I will summarize days 5 – 8, which will include reaching Everest Base Camp. It was not as easy as one might think. You might do everything right and come nearly all the way, but Mother Nature might have different plans for you!
*All time includes trekking and breaks

Amazing!!Adam really wants to do this me not sure…out of curiosity what’s the price on this?
It is really an awesome experience, but you really would need to WANT to do it. I did not find it to be overly strenuous, but I have also done a lot of trekking at high altitude. Others struggled quite a bit and had some altitude sickness symptoms. My two cents, if you are gonna do it, you’ve gotta be all in 🙂 I paid $1k when I just turned up and booked my trip. As you know, you get better deals that way. Price will also depend on the season. If you guys have other questions about it, shoot me an email!
How can I not like this?
You would be a fool to not like it! 🙂